The runner and climbing French beans went out this week. Maybe a little late but I wouldn’t have been surprised to have seen one last hard frost strike late. I don’t feel safe from frost here until June and this year with the fairly tough winter it seemed sensible to be extra careful.
I’ve got a few broad beans growing on plot 5 that were sown very late and comparing with some neighbouring plots I was surprised to see how well they are catching up. I’d say they are about two weeks behind looking at them.
The last week was mainly just weeding and a bit of watering. The weather has been good, although Friday was a bit miserable and damp. Damp really isn’t good enough, we could do with a good downpour but it’s surprising how much moisture is still in the ground.
I know I tend to harp on about it, but frequent light sprinkles don’t do a lot of good. They encourage shallow roots which makes for weak plants.
Still, the message isn’t hitting home; it seems every time I’m on the plot there’s people lightly sprinkling. Of course, the real problem is it reduces the water pressure on the allotment and it takes me ages to fill a watering can!
Building a New Brassica Tent
I’ve noticed a butterfly fluttering her way around the cabbages on one plot already. She was under the netting, which was keeping the pigeons off but obviously not the butterflies.
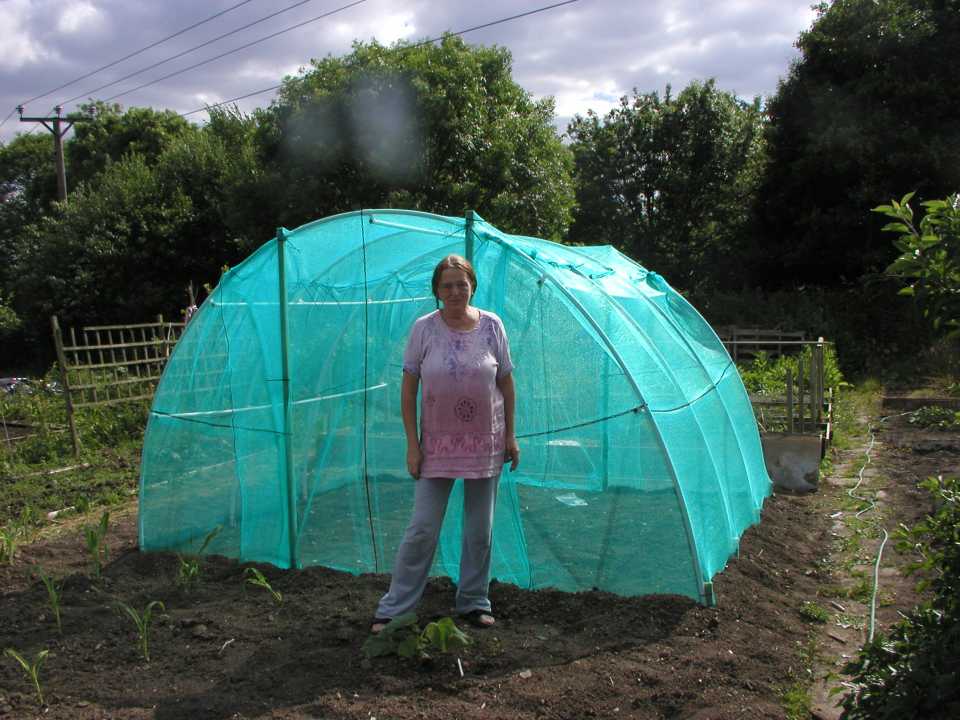
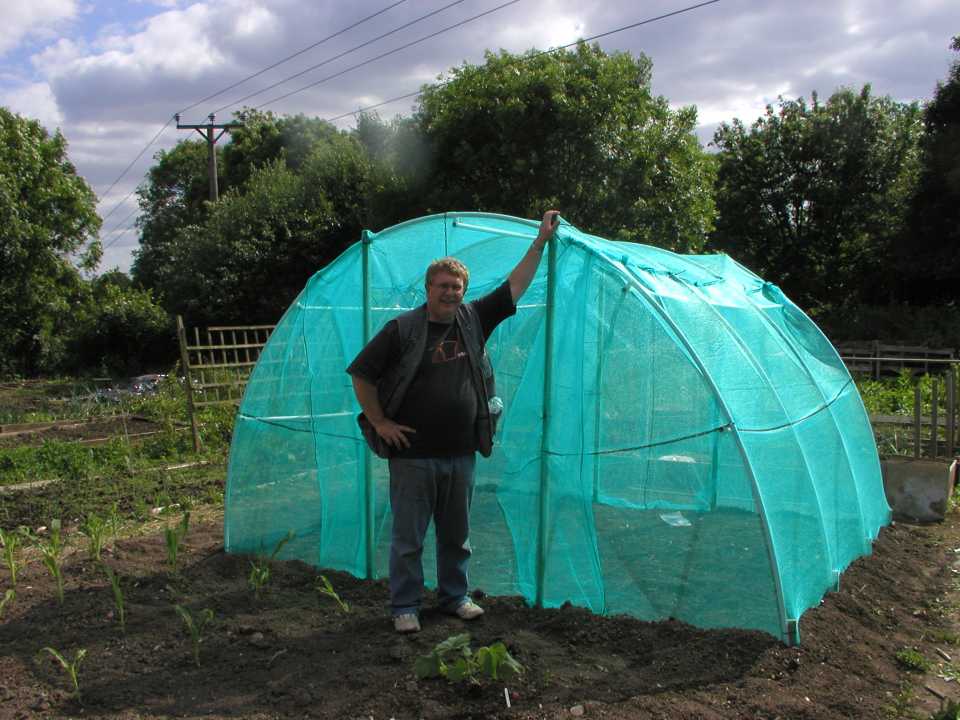
This year I’ve the mother of protective brassica nets. I’ve got a Walk-in-Wonderwall. Now I readily admit I’m not the best at mechanics or DIY. I can drive the rotovator but don’t ask me to adjust the carburettor. I’m not even clear what a carburettor is, looks like or where it is, never mind adjusting it.
I’m OK at wood work, even made some rather nice bookshelves, but constructing a greenhouse from a pile of bits.. well thank goodness other plotholders came to my aid. So it was with some trepidation (lovely word!) that I opened the parcels and read the instructions. First bit of good news, all the bits were there to check off the list and the instructions include colour photographs so even I could work out how to build it.
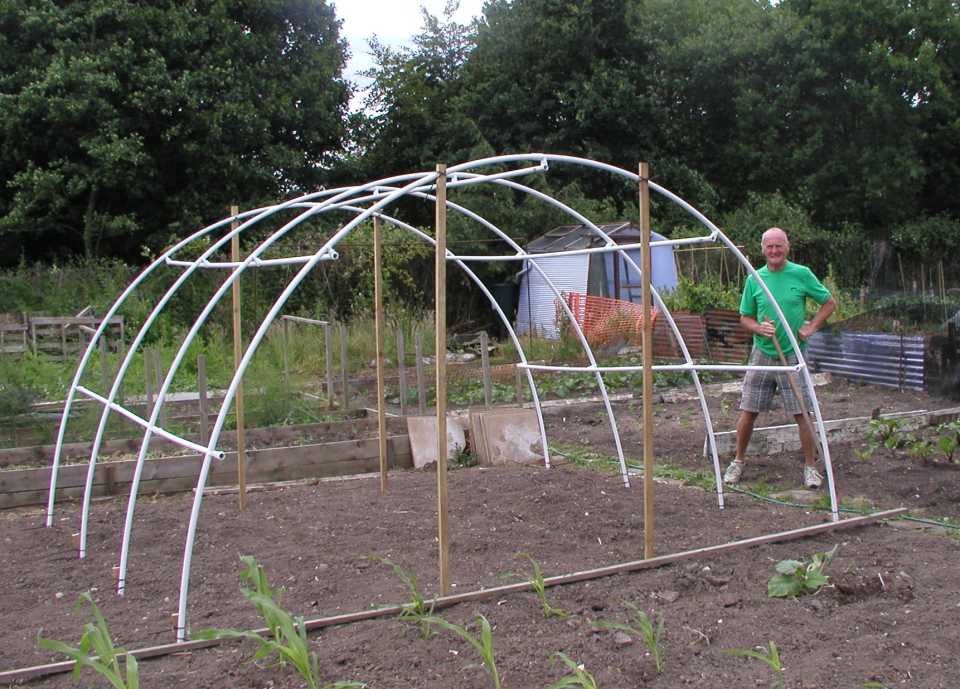
In fact, reading the instructions (twice just to be sure) took nearly as long as actually building the frame. Basically you hammer some stakes into the ground and then bend some flexible pipe into place, tie to the stakes and then fix some horizontal stiffening bars onto the pipes.
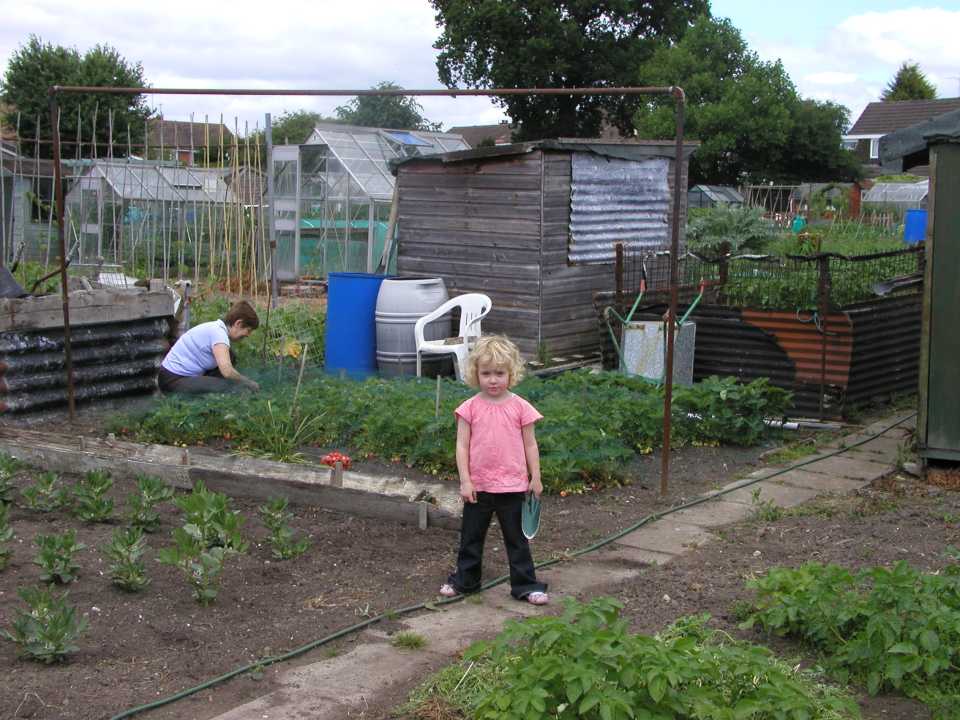
See the first picture – the chap in the picture is Derek from plot 6 by the way. He complained his photo hasn’t appeared in my diary and I aim to please! His grand daughter was showing him how to grow – well he needs the help!
Once the framework is up, it’s just a matter of fixing the netting on. I must admit I found this a bit tricky, but Val was helping and put me right when I went wrong. I’d say building the frame is easy enough on your own but putting the netting on is best done with two people.
Once the building work was done, Val went home and I stayed on to plant out the brassicas. I’ve got cabbages (Elise, Kalibos and Pyramid), cauliflowers (Pavillion) and calabrese (Chevalier) in. They’ve been in a coldframe to keep the pests off and are ready to go from the 3″ pots.
When I plant out brassicas, I always put a scattering of extra lime around the hole. Perhaps as much as an ounce. They like a high pH (alkaline) soil and I’ve heard it helps with clubroot although I’ve not seen a proper test report. I’ve a bit of clubroot on the plot and don’t want it to get worse if I can help it.
I’ve a few plants left so they will go into one of the raised beds but I’ll have to improvise some netting for them. I’d best get around to netting the redcurrants and my cherry tree at home as well before the birds notice them ripening.
- Wonderwall Frame Constructed
- Dereks Grand Daughter
- Supervisor and Wonderwall
- Me and My Wonderwall



These sound like I need one on my allotment