Having got the greenhouse glazed, it’s time for the finishing touches and fitting out.
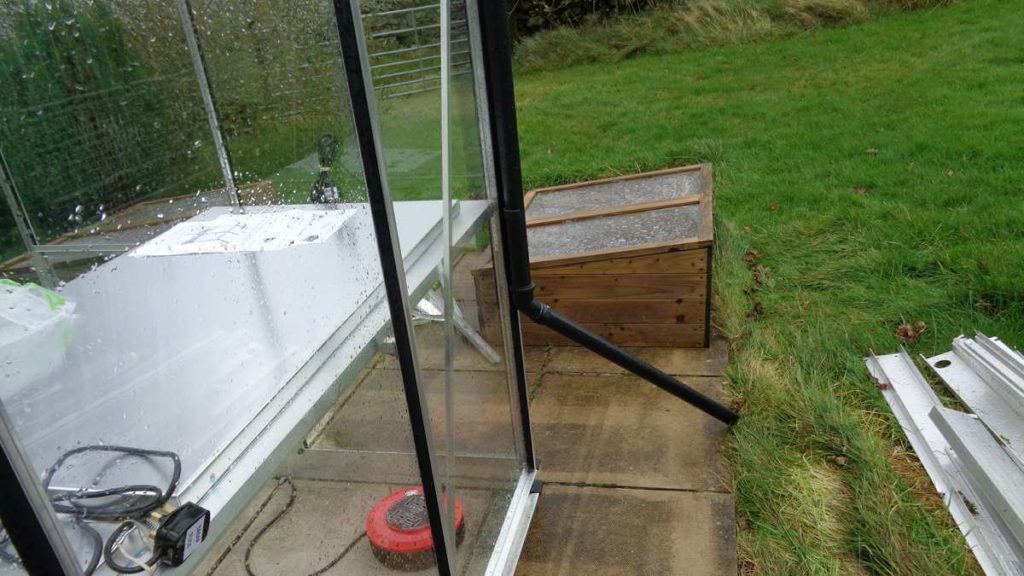
Greenhouse Downpipe diverting water off the base slabs – note the extension cable in the greenhouse under the staging.
The guttering was tested and there’s a slight fall to the rear, which is perfect. Because one of the downpipes will put the water where it is going to come back onto the house, altered the piping to send the water to the side of the slab pad. This should soak away rather than back-flooding into the greenhouse.
I could have run the gutter pipe into a water tank but I don’t need it. Not only have I got mains water very near to the house, I’ve 400 litres of rainwater stored in butts filled from the old cowshed roof. It would be overkill!
To stop water seeping in under the sides of the greenhouse I’ve run silicon sealant around the edges. It doesn’t matter hugely but water on the floor increases humidity and that leads to fungal problems. Not what you want with seedlings especially.
The base is solidly fixed down with extra brackets as well – just in case a pane goes and wind gets in, lifting the greenhouse. It’s not quite a bomb-proof greenhouse, but it’s getting that way!
Electric to the Greenhouse
I’m running power in via an extension cable which is fed from a weatherproof outside socket. This is fed through an RCD in the outside power fuseboard. Legally I’d need a qualified electrician to permanently run power into the greenhouse. This is not the case when taking power via an extension cable run from a 13 amp socket just like an electric mower or what have you.
To get the cable in, I drilled a 20 mm hole in the base plate. I then fitted a rubber grommet to prevent the cable chafing on the metal. These are designed for metal back-boxes for electrical sockets. Had to take the plug off the end to get the cable through the hole, but that’s only a couple of minutes job.
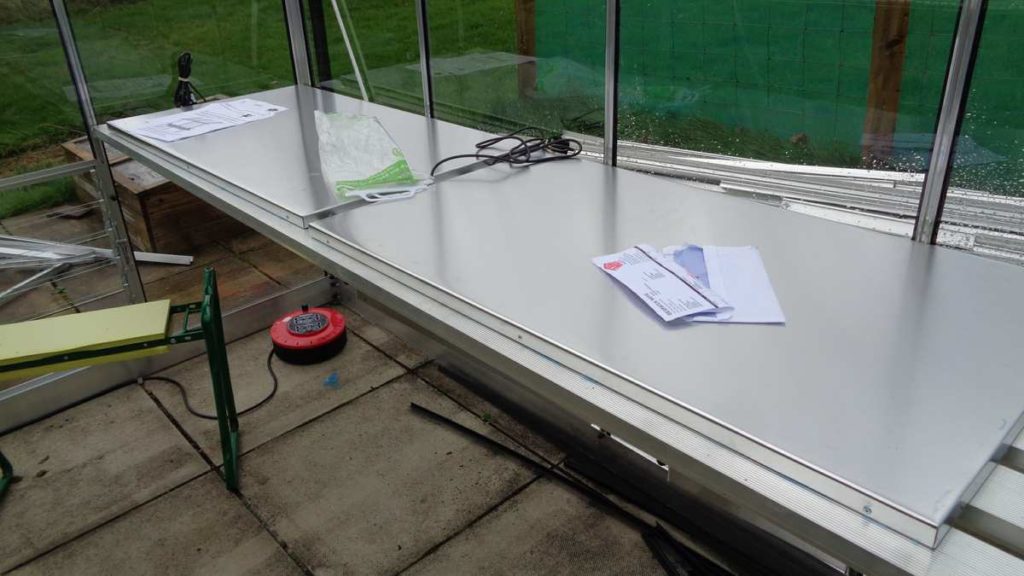
The cable is clipped around the base (no tripping or chafing) and the 4 socket extension reel drum is under the the staging at the far end. From this I can run a 6 socket extension above the staging and directly plug in a thermostatically controlled electric heater. If I want I can keep the whole greenhouse frost-free in winter.
On the staging I’ve two 22” by 39” 100 watt heated trays from TwoWests. These are controlled via thermostats so I can provide bottom heat for seedlings or over-wintering plants as needed. I might build a cover box so making a propagator or just better protection if we get another minus 15 winter.
Another possibility that I need electric for are grow-lights. Despite the shading effect of the windbreaks, there’s plenty of light in the house but grow-lights really bring plants on at the beginning of the season when days are short. We’ll see how things go.
Water Butt
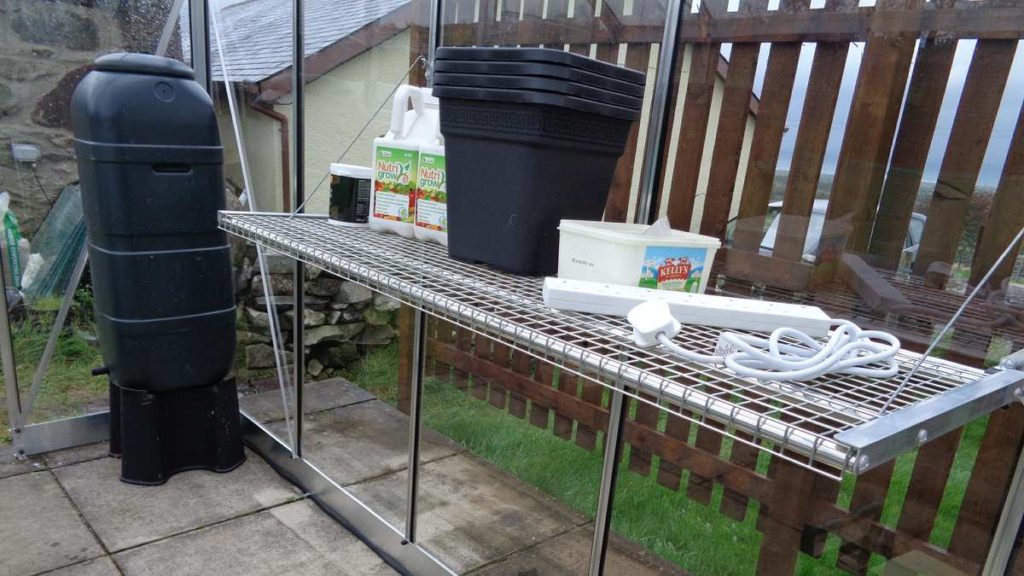
Inside the greenhouse I’ve got a slimline water butt. This provides water at room temperature rather than the 5ºC temperature of tap water, which can shock seedlings. It also acts a thermal store, helping to keep the house frost-free at night.
Folding Shelf
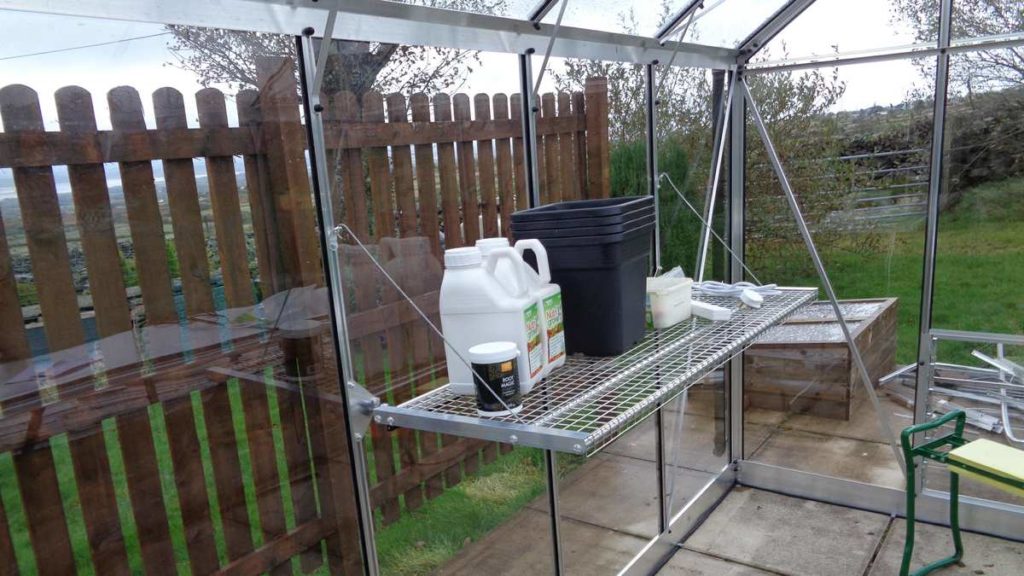
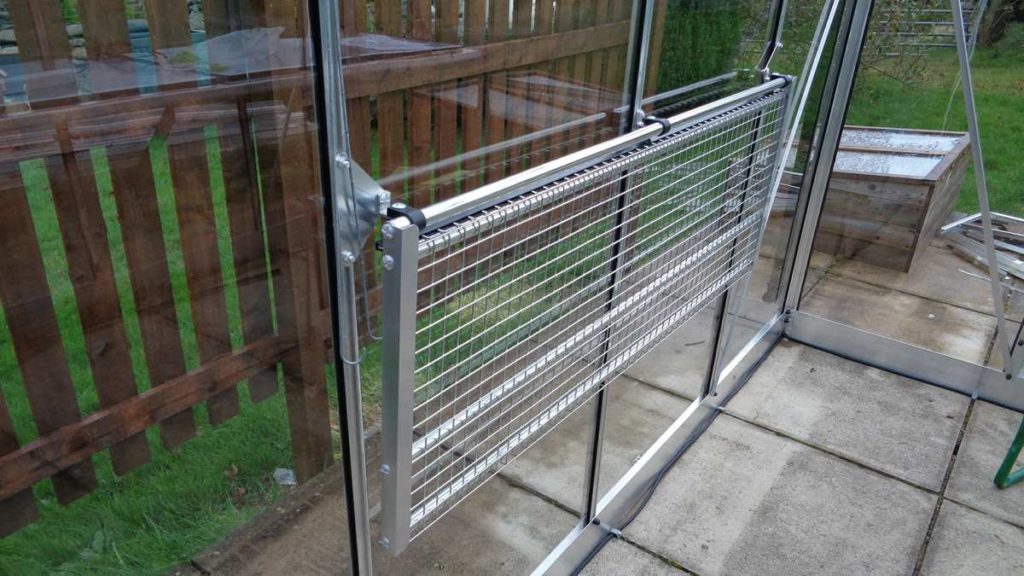
There are times when extra staging is really useful for young plants, too tender to go out. But come the summer the space is better used for tomatoes etc. and the staging is in the way. TwoWests have a neat answer, a wire mesh staging shelf that folds down flat and still lets light through. See – Folding Greenhouse Staging
It comes flat-packed but it’s very quick and easy to put together. Fixing to the glazing bars is easy but I’d suggest a two person job.
Greenhouse Size
When I decided to put a second greenhouse up I thought long and hard about what size to get. It’s true that whatever size you have, in the middle of the season you wish for more. In the space I’ve got I could have put another 14 ft. by 8 ft. greenhouse up. So why did I go for 10 ft. by 6 ft.?
The main reason was this is a second greenhouse and being smaller, I can keep the whole house frost-free if I want without sending the electricity bill through the roof. I’ll be able to empty the bigger greenhouse of plants and give it a proper clean and fumigate in the winter. Because it is a smaller greenhouse, it’s even more important to make best use of the space. Hence the value of the folding shelf unit.


Looks like the new greenhouse is coming together John. I like your layout although you have metal staging I built wooden staging do you think metal staging is a better option than wood because its possibly more versatile for both light and space when I built the wooden staging I made it so we can remove the bench for our tomato crop.
As I understand bottom heat is a very good way for seed germination something I’m seriously thinking about using I have some soil heating cable that I’ve had for several years but not used I’ve been told to bury the cable in soft sand?
But I have to say your new greenhouse really looks the business that should produce good results for you when its finally up and running
PS I sent you the soil test company did you receive it?
Hi Rowland – I’m very pleased with it (assuming it resists our storms!) The integral staging came free with the greenhouse, which is great. Because there are no legs it gives more usable space underneath. I have made staging from wood before but this is easier to keep clean. I take the freestanding metal stagings out of the other greenhouse for tomatoes in the season.
On heating – I thought about using a cable system, The idea was to build a box with waterproof plywood and put polystyrene insulation sheet in the base followed by the cable and sand. Don’t forget you’ll need a thermostat to control it. You can pick those up for about a tenner on ebay. If you check out my page on ideal germination temperatures you may be surprised how high the optimum is!
Didn’t get the info re soil testing – I’ll email you later tonight.
Hi John
yes ideal germination temperatures certainly makes good reading and gives me a bit more insight into doing things a different way to what I’m doing now
Hi John, I’m new to your site and haven’t been viewing as often as I would have liked. This might not be the appropriate space to say that you have my sympathy regarding your back. My chiropractor gave me some invaluable advice years ago. Lie on your back, bend your legs, grab your shins by your hands and pull your legs up to your chest. Singly then both together holding the position and breathing in at the same time. Breathing out as you release your legs. Do this daily about six times. It is a tried and tested method for
keeping your back pain managed. I’ve followed this and touch wood I’ve never had to take time off because of back pain.
Good luck. Kind regards. Terry
Thanks Terry – I’ll give that a go when I’m up to it.
May I ask why you’re letting the water soak away and not saving the water from your greenhouse?
Just continued reading and now know the answer to my saving water question!
Hi Sandra – our main water problem is too much rather than too little. I’ve even thought about building a swale up the hill to slow the water which runs down in sheets when the ground is sodden. Think I can get the same result with trees though.. when they grow!
Just got a new 14 x 8-6″ greenhouse myself.intend putting growing boxes on castors on the ground to make most use of the space and light, I will be careful how I bend over.
Hi, John, your Greenhouse is amazing compared to mine which is always untidy. My garden has the River running past and floods so I tend to throw everything that will float into it hence cannot get in with ease. This year I have grown a grapevine inside so that’s taken up a lot of room and the grapes only grew to the size of of a pea and I did thin the bunches out but was too late but they were very sweet and tasty. Where did I go wrong? Any suggestions, please.
Hi Rosemary, Well you don’t say what variety you’re growing, what the soil is like or whereabouts you are. Scotland is very different to London from a climate point of view. The prime suspects would be feeding and pruning regime. There’s a basic article on the site that might help you: How to Grow Grapes
Hi John Thank you for your response Its a black Grape cannot remember name the Root is growing on the outside of greenhouse so its a mixture of multi-purpose and garden soil as it’s outside I live in Nottingham shire
As Notts is not especially a harsh climate, I’ll stick with feeding and pruning. Don’t forget to water well in dry periods.
Thanks, John did not feed till it was to late read somewhere you don’t feed then read you do feed so I did