Best known as the market leader in domestic and commercial polytunnels, First Tunnels also make a small mini polytunnel plant protector. But does it live up to the First Tunnels reputation?
What is the First Tunnels Mini Polytunnel?
The First Tunnels Mini Polytunnel is just what the name says, a mini polytunnel built to First Tunnel’s high standards. It comes in one width – 4 feet – and 3 lengths – 5, 10 & 15 feet. It has two options for the cover; polytunnel skin and netting.
What does it do?
It enables those really tight for space to provide a protected growing area in the garden or on a patio with a decent amount of headroom to accommodate taller plants or even a second tier of plants within the mini-polytunnel. It can also be set up within a large polytunnel to provide a very sheltered area for tender plants in winter.
Like all polytunnels it can get very warm so to provide ventilation it comes with two legs which can be swung down to raise one side allowing airflow.
Constructing the Mini Polytunnel
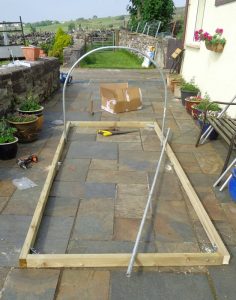
The construction instructions are exceptionally thorough. It’s worth taking a few minutes to go through them before starting. I decided to start the assembly on the patio which gave a flat area large enough to move around the tunnel easily. It was moved over to its final position before putting the plastic skin on.
It does require some DIY skills to build but nothing that should be beyond most people.
The main steps are:
- Construct the base rectangle
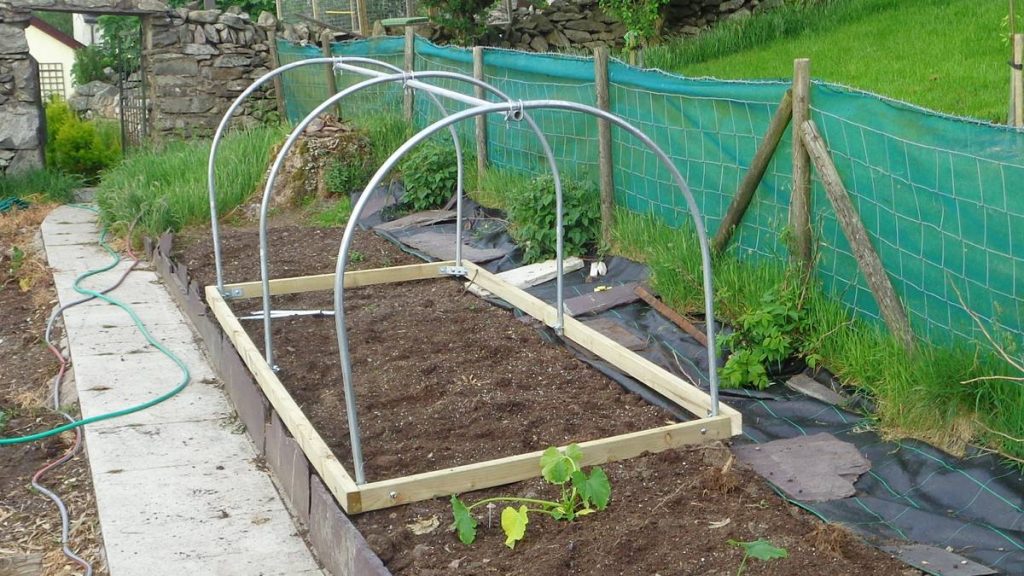
- Fix the hoops
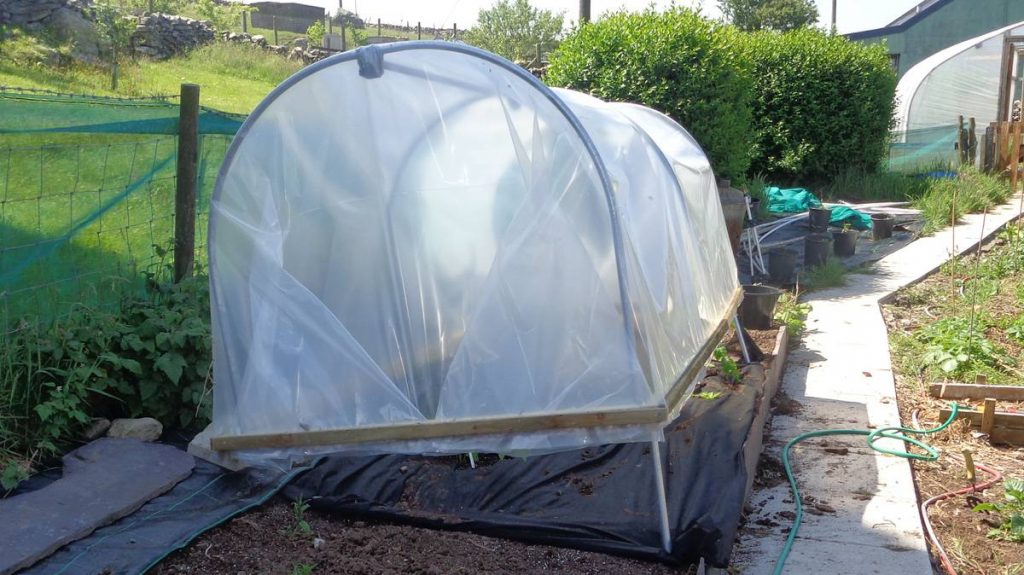
- Put the cover on
The base is made of pressure treated 3×2 timbers which are jointed together with nails and bolts through corner brackets. Once completed it’s very solid and doesn’t flex.
The galvanised steel hoops are the same quality as supplied on domestic polytunnels and, once fixed with the central ridge pole, very stable. Fixing in place is easy, just a matter of tightening the bolts on the holding brackets.
Putting the Cover On
Putting the cover on is a little tricky. It’s the same skin as used by First Tunnels on their full-sized tunnels. The plastic skins do degrade over time and are guaranteed for 5 years but most home tunnels, where light transmission isn’t so critical, get ten years life from a polytunnel skin.
Initially the skin covering is stapled into place whilst being pulled tight. I found it ripped off the staples in the process but came across a way around that. To avoid the ridge pole ripping the skin gaffer tape is used to smooth the end brackets. Again that’s a method used in full sized tunnels. By sticking a little piece of tape onto the skin and stapling through that, the problem of the skin ripping off the staples is prevented.
Finally, as with large tunnels, the cover is fixed with battens to the base frame.
First Tunnels Mini Polytunnel In Use
Be aware that because this is so well engineered it is quite heavy, it needs two people to move it. It’s easy to lift up one corner and swing the leg down to hold up the side for ventilation but if used as a cloche, you will need someone to hold it up whilst cultivating underneath.
For many people this isn’t a problem but there is no way to anchor the mini polytunnel to the ground. I had actually used this for less than a week when Storm Hector struck. Knowing the storm might cause problems, I folded the ventilation legs up and the tunnel was sitting flush on the ground. The next morning I saw it had flown 50 yards into a field. On the way it had smashed into a 6 foot wall before flying over it.
Overall, you can’t fault it on quality and just one small demerit on constructing it over fixing the cover as explained earlier.
In this video from First Tunnels, Paul Peacock explains its uses and features:


