Many gardeners are looking at ways to reduce costs. Renewing and reusing potting compost is one way they can save some money. It’s also good practice from an environmental viewpoint, being more sustainable.
The article below covers reusing your potting compost. The sections covered are:
- Environmental Costs of Commercial Potting Composts
- Problems with reusing potting compost.
- Practical Plan for Reusing Potting Compost
- Screening and Removing Debris
- Sterilisation (optional):
- Rotation
- Nutrients
- Acidity
- Add Fresh Compost to the Old
- Deterioration with Age
- Disposal of Spent Compost
- Alternative Fast Method for Saving Potting Composts
- Conclusion
Environmental Costs of Commercial Potting Composts
Most potting composts available to home gardeners will either be based on or at least contain a percentage of coco coir. Coir uses a lot of fresh water to process in parts of the world where fresh water is at a premium. The processed coir is then transported from Asia to the UK for the potting compost manufacturers.
Once here in the UK it is processed and mixed with composts from bulk composting facilities before being packaged. Then, packaged in plastic bags it’s transported to garden centres from where we collect it in our cars.
In summary commercial potting composts:
- Require significant fresh water to produce coir from areas where fresh water is in short supply
- Generate significant transport costs with the associated carbon footprint
- Use plastic packaging which requires requires disposal or specialist recycling.
- Even reducing our use of commercial potting compost by a third is a significant environmental benefit.
- Problems with reusing potting compost
Potting composts are basically a single season product. Reusing a proportion of them requires careful thought. The main points to consider are listed below.
Crop Rotation
Example. growing potatoes in sacks will leave an amount of compost behind after harvest that could be reused. However, potatoes are members of the Solanaceae family like tomatoes, peppers and aubergines.
The principle of crop rotation teaches that using the same soil for the same plant family year after year will lead to problems as disease and pests build up. It’s important to consider what the compost has been used for previously and re-use it for plants from a different family.
Pests
Over the season pests are likely to set up home in the potting compost. Slugs will find their way in and lay their eggs in the compost. Vine weevils rarely cause noticeable damage in plants grown in the garden but are especially damaging to container grown plants.
Diseases
Some diseases are soil bourne and can build up in potting compost. Onion white rot and, club root are examples that come to mind.
Nutrient Depletion
Over the season the plants grown in the potting compost will have used up the nutrients in there to start with. Usually the container grown plants will have been fertilised but commercial fertilisers may not contain micro-nutrients.
Lack of a micro-nutrient will have a disproportional effect in the same way as a lack of a vitamin can make a person very ill. For example, people require roughly just a tenth of a gram of Vitamin C daily or they become very ill with scurvy.
Acidity
The addition of fertiliser over the season has probably made the growing medium excessively acid. As a general rule plants do best in a soil or compost with a pH between 5.5 and 6.5. Too acid and the plant has problems absorbing nutrients even if they are available in the compost.
When reusing potting compost we need to keep all these potential problems in mind. The good news is that it isn’t as difficult as you may think after reading the list.
Practical Method for Reusing Potting Compost
Screening and Removing Debris
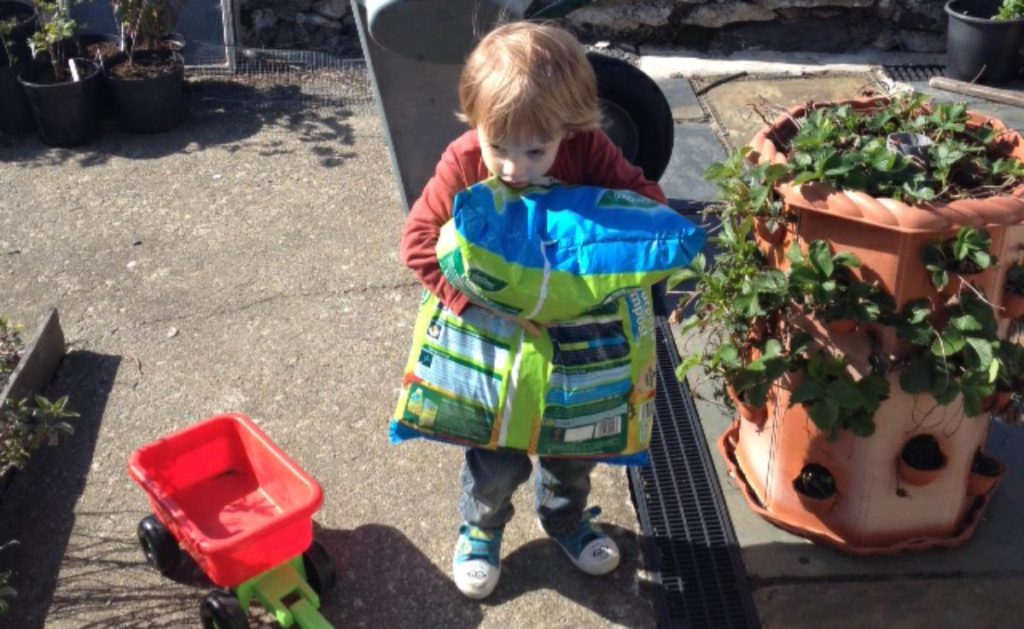
Start by removing any plants with their roots to the compost heap. Then empty the pot into a larger container. A wheelbarrow is ideal for this.
Spread the compost out and remove any roots still in there. Look for pests like slugs, snails, their eggs and other insects such as vine weevil. By leaving these spread out on a hard surface the birds will enjoy a treat.
If the weather is dry, leave the spent compost in the wheelbarrow for a day or two which will allow the birds to pick out those pests you’ve missed. Birds’ eyes are designed to spot insects etc. and they’ll find those you’ve missed.
Sterilisation (optional):
If you’re concerned about pathogens or pests, you can choose to sterilize the medium. Personally I don’t bother. Plants in containers outside will have bugs and bacteria arrive from the environment in short order so I think it’s generally a waste of time with potting soils.
The exception is seed composts where a sterile medium is beneficial although not critical to success.
Don’t forget that sterilising will kill beneficial organisms as well as pathogens.
Steam Sterilising The Growing Medium
In the old days home made composts for starting seeds off and first potting were often sterilised by forcing steam through the medium. Special machines were available for the home grower with the water heated by a bonfire.
You can sterilise small amounts in a pressure cooker (5 minutes at 15lbs pressure) but it’s time consuming. Place the medium in a container within the cooker and add water to the cooker. Adding the water to the soil will just give you sterile mud!
Oven Sterilising
Small amounts of compost can be sterilised in a conventional oven set for about 90ºC for 30 minutes. If you have an oven thermometer you are looking to raise the growing medium to 82ºC. Avoid over-heating. Place the soil in trays like a turkey tin to ‘cook’.
Microwave
Place the compost in a microwave safe container, adding some water if the compost is dry. Microwaves are designed to heat water in foods so it is important to have some in the material.
Timing will vary according to quantity and microwave power. Once again you’re looking to raise the soil temperature to 82ºC
Solarisation
This is easily done, effective and basically free. Spread the compost out so it’s around 50 mm (2 inches) deep. Cover with clear plastic. Left over polytunnel skin is perfect for this. The sun will heat the compost below. It does depend on some sunny warm weather which is in short supply at the end of the season.
Jeyes Fluid for Soil Sterilisation
Older gardeners will remember using Jeyes Fluid to sterilise soil. They’d add a couple of tablespoons to watering can (Approximately 50 ml per 5 litres) and then water their compost with a fine rose.
The law was changed in 2003 so selling a product for an unapproved garden use will get you in trouble. So I’m not suggesting you use Jeyes Fluid to sterilise your potting compost or your white rot infested onion patch!
The Jeyes web site states in response to the question
Can Jeyes Fluid be used to sterilise the soil?
Regrettably, as this product is now subject to Ministry regulations, we are unable at present, to confirm recommendations other than those printed on the latest can. Since EC Regulations in 2003, the product is no longer effective at sterilising soil.
Rotation
Avoid re-using compost previously used for growing the Solanaceae family like potatoes, tomatoes, peppers and aubergines for growing Solanaceae again. Use this material for other container crops like leeks, garlic, carrots or for flowers.
Nutrients
The old potting soil is most likely nutrient depleted. Add slow-release fertiliser pellets which will ensure there are sufficient macro-nutrients available for the new season. Follow the instructions on the fertiliser pack.
The growing medium will almost certainly be short of some micro-nutrients and trace elements. Basically the vitamins of the plant world.
Professional analysis will identify which elements are needed but that is an expensive process. Adding a general mix of trace elements and micro-nutrients such as S-Chelate Cultiv-8 will cover all the micro-nutrients at the same time.
Acidity
The growing medium may have acidified over the season. Test kits for pH (acidity) are fairly inexpensive to buy. The aim is to have a pH between 5.5 and 6.5. Rather than testing each batch, I just add a dusting of dolomite lime and mix in as I go. Ordinary garden lime is OK but dolomite lime adds magnesium.
Incorporate Fresh Compost
Mix in fresh compost at a rate of 1 part new to 3 parts old. This will further refresh your old potting compost for re-planting.
Alternatively adding sieved home made compost and or leafmould will add body and structure to the compost.
Adding some perlite when mixing will keep the growing medium open and improve water retention. Between 1 part in 10 and 1 part in 5 will be right.
Deterioration with Age
You will certainly be able to get two seasons from potting compost and often three but beyond that it’s generally best to replace with fresh. The structure will deteriorate with age which may cause the compost to become waterlogged and anaerobic.
Disposal of Spent Compost
Spent compost still has some value. Just add to the garden soil and it will improve the humus. There will be little in the way of nutrients but spent compost will bulk up sandy soils and lighten clay soils, improving drainage and water retention.
Alternative Fast Method for Saving Potting Composts
Because time is often at a premium, there is a fast way to save purchasing some potting compost. We use this system for decorative annual pot plants on the patio.
- At the end of season pull out the dead plants leaving behind the potting soil below.
- Using a hand fork, break up the potting compost in the base of the pot.
- If compacted, add a handful of perlite.
- Then add some slow release fertiliser granules.
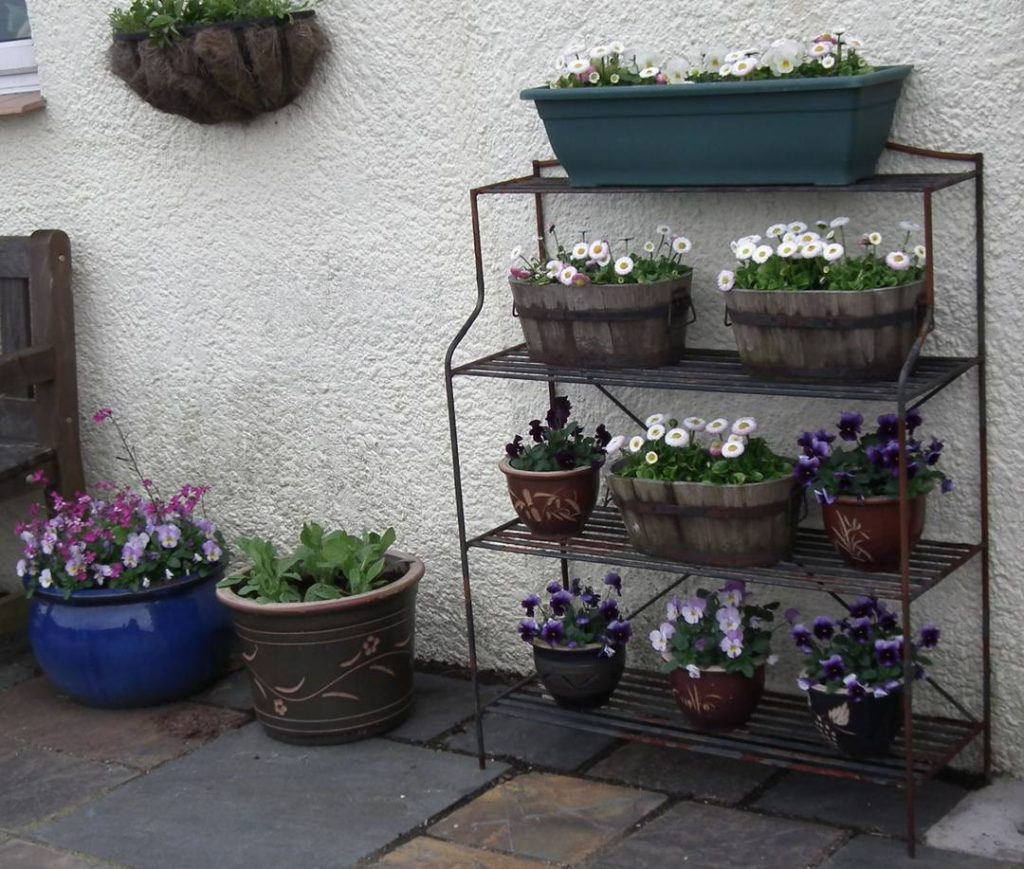
- Top up with fresh compost and plant up as usual
- Water with trace elements (we use S-Chelate Cultiv 8)
Conclusion
Gardeners can save money and benefit the environment by revitalising and reusing their used commercial potting composts.


