John Trim
Show grower John Trim has won the national championship with his onions. In this first of two articles on growing large onions for show, he reveals the secrets of cultivating and staging large exhibition onions to get you the winner’s red card at the show. Based on Helen Vincent’s method.
This is the second part of a two part article. The first part is: Growing Large Onions For Show from Seed
Horticultural Lighting for Exhibition Onions
- During January the plants receive 24 hours of light under the fluorescent tubes.
- In February the plants are moved under an LED light which is run for 16 hours a day. On at 4.00pm off at 08.00am.
- In March this is further reduced to 12 hours a day on at 6.00pm and off at 6.00am.
- The artificial lights are turned off come April.
From an early stage the foliage of the onions needs to be supported by hoops on canes to keep it upright. If you allow the foliage to flop you could end up with onions sporting bent and off centre necks.
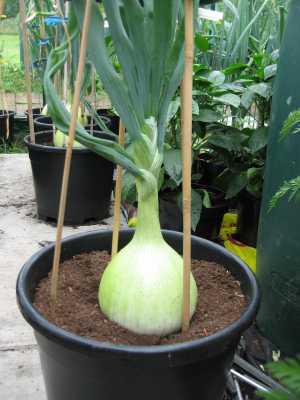
Onion growing in a 20 litre pot.
The outside flag has been stripped back. Notice the ribbing at the base of the bulb. This will grow out within a week and the bulb will be lifted.
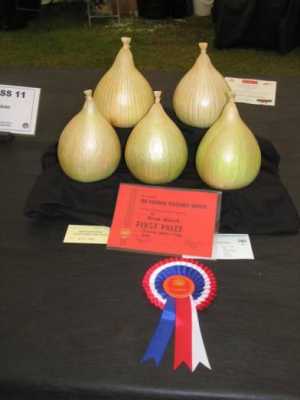
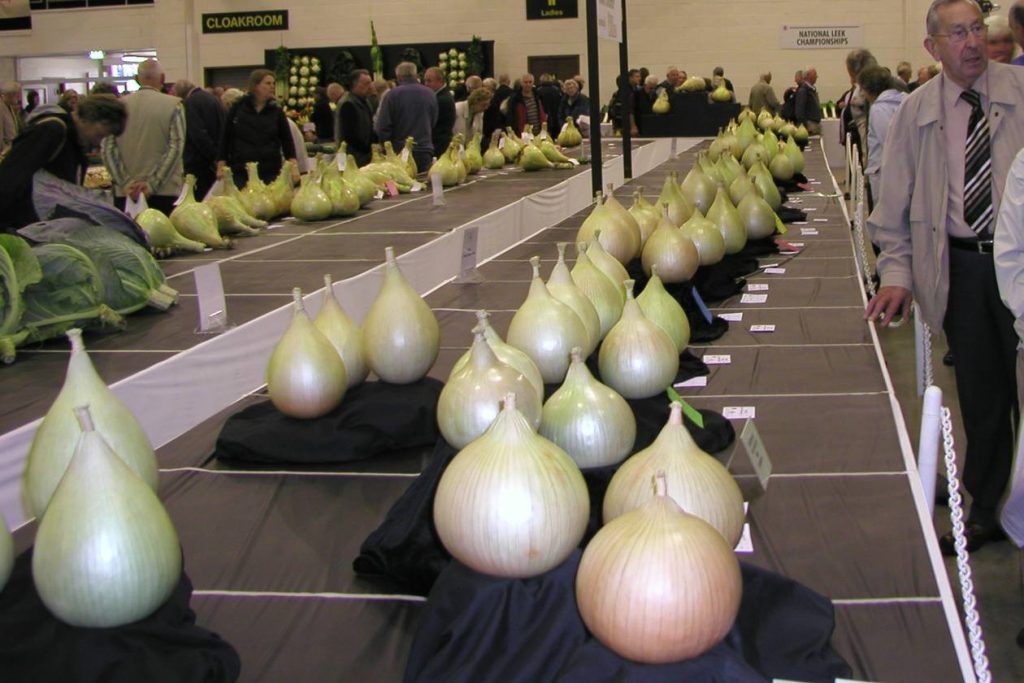
Show Winning Kelsae Onions.
Heating & Temperature for Cultivating Large Exhibition Onions.
Although it is convenient in most cases to use an electric heater the plants will benefit more from the use of gas or paraffin heating. This is because they increase the levels of humidity plus giving off more CO2 which is essential for photosynthesis.
The temperature in the greenhouse is kept as near as possible to a constant 70f/21c during the day using an electric fan to assist cooling in warm weather and not allowed to fall below 60f/15c at night.
During the summer months the onions are moved out of the green house during the day & put back at night.
Watering Large Exhibition Onions.
The plants are stood in trays on the green house floor. All watering is done from the bottom, each onion receiving just 2 pints of tepid water per week. Avoid watering into the pots as this could lead to a botrytis infection.
The onions do not receive any high nitrogen feeds as this could contribute to soft bulbs with thickened necks, although six weeks from harvest give a weekly feed with a soluble high potash fertiliser to condition the bulbs.
Spraying Against Onion Thrip & Moth.
Helen sprayed her onions 4 times during the growing season with ‘Tracer’ as protection against thrip and onion moth. This product is not available to the general gardener. There is a new product on the market called Bio Grow Plant Health Invigorator’, which colleagues of mine report gives excellent results.
Harvesting and Ripening the Onions
Five weeks before harvest any split skins should be removed from the bulbs down to an unbroken skin. Initially peel the skin down to soil level, it can be removed when it pulls away easily from the base of the onion. This gives time for any ribbing at the base of the onion to grow out.
Once the old skin is removed expose as much of the base of the onion as you can by drawing back the compost but take care not to make the plant unsteady. What we are trying to do is allow light to the bottom of the onion to assist ripening.
Helen’s onions were harvested around mid July when they had a girth of 20 inches. They had very slim necks and beautiful skin condition. This was achieved by stopping watering & feeding three weeks before harvesting.
Once the bulbs are lifted trim the roots off flush with the base and cut the foliage down to 3”. Stand the onions on a bed of sawdust in a dry well ventilated room.
Avoid anywhere with a damp atmosphere as botrytis can easily infect the bulbs before they ripen.
To assist ripening dust the onions with talcum powder and use an electric fan to blow air across them, turning the bulbs around each day.
Preparation and Staging the Onions For Show.
A day or so before the show tie the necks of the bulbs with natural raffia. To stop the outer skin from splitting whilst doing this, dip the neck of the onion in warm water. It is then an easy job to neatly tie up the necks. Dab off any excess moisture. Also make sure you remove all the talcum powder from the bulbs. Now line the onions up & trim the necks all to the same height.
Make a special box for your onions. Line the bottom with sponge and divide the box into individual sections and line each section with more sponge. Take care of your onions and they will be usable for several shows. After each show remove the raffia and place the onions back on sawdust until the next event.
Always make sure there is something soft for the onion to sit on. The maximum height that you can display your onions at is 6”/150mm above table height. Don’t go above this or you will be disqualified. In a collection you can place the onions as high as you like.
This is the second part of a two part article. The first part is: Growing Large Onions For Show from Seed

