The large, 8’ x 14’, Vitavia greenhouse border is now ready for planting up. There was a bit of debris in there along with pieces of broken glass to remove. I took the opportunity to fork it over and then topped it up with the contents of an old unused grow bag and a bag of Miracle Gro potting compost.
The old grow bag compost was surprising, the quality far better than I expected. The Miracle Gro less than expected. It had lots of undigested bits of wood, needed breaking up and was not a patch on my Bloom & Grow.
Levelled the border soil with a rake and then limed it as the pH was running around 5.5 and ideally I’d like to see it nearer to neutral at 6.5. The next task was to give it a good watering, washing in the lime and settling things down.
Finally watered with 10 litre of S-Chelate-O Cultiv-8 solution. This ensures I’ve most of the micro-nutrients required ready for planting. Tomatoes particularly need Magnesium and the Cultiv-8 covers that base.
Reinvigorating the Grass
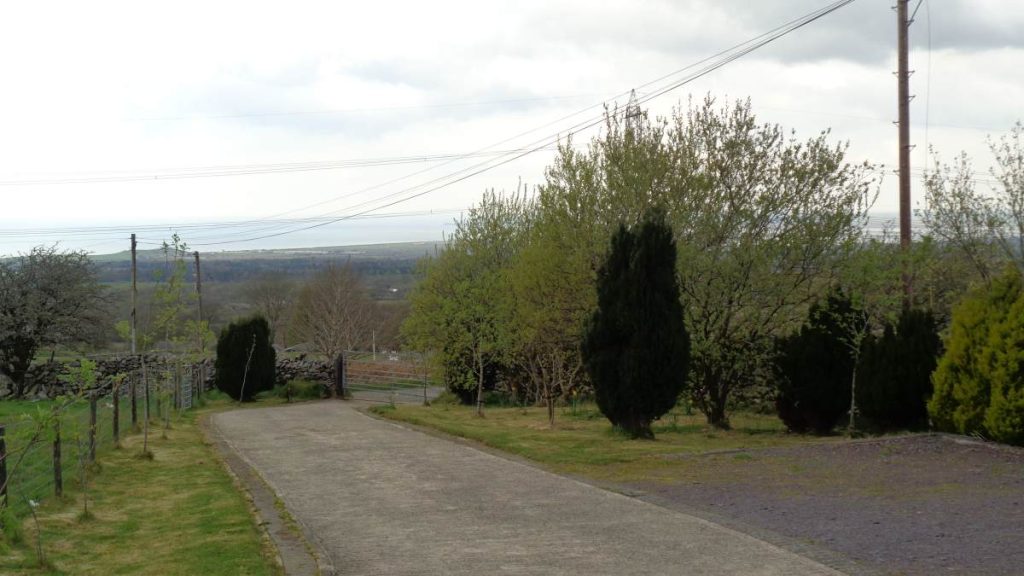
We’ve grass areas to the sides of the track up to the house and behind the Vitavia. I suppose you could called them lawns but they’re not quite lawns. When we moved here the rough track just had some poor pasture to the side. It was all a bit of ‘green desert’.
Now it’s lined with trees, mainly willows and rowans, some conifers and elder with daffodils popping up from the grass in spring. The grass does get mowed fairly regularly but otherwise I don’t think it has had any attention for at least the last five years. This last couple of years the amount of moss in the grass has grown a lot. Time to give it some TLC
Mowing & Scarifying
First of all a thorough mowing. It was mowed recently but I wanted to take it down low before scarifying to remove the moss.
I do have a spring tine rake which is right for scarifying but it would take me all of a day to do the area involved properly. Happily for me, I’ve a scarifying attachment for my Mantis tiller. I’ve had this for some years and it’s a good piece of kit. I’d recommend it except the price is now ridiculous. They’re asking around £250 nowadays and you can buy a dedicated petrol Lawn Scarifier for only a few pounds more.
Got the Mantis out and just removed the cultivating tines. Slot the spring tine rake rollers on. Slot on the guard extensions and away we go. It’s not effortless, but it’s very effective. You have to walk backwards pulling the Mantis as the spring rakes whizz round to extract the moss and thatch.
After a well earned tea break, ran over the grass with the mower to collect the removed thatch. That actually took longer than the initial mowing! When done, the grass looked pretty threadbare but that’s OK. It will green up an the grass will tiller to fill the spaces fairly quickly.
Feeding
I haven’t fed the grass for some years and the soil here is pretty nutrient poor, so I know it’s likely down on all the major nutrients and especially nitrogen. It’s amazing how well lawn grass grows despite having the fertility taken away with the clippings frequently. The nitrogen is usually the most depleted which is why lawn feeds concentrate on it.
I took a standard 7:7:7 fertiliser which would cover all the major nutrients and added sulphate of ammonia at about 15% by weight to up the nitrogen content. I know some commercial lawn feeds include sulphur and whilst I don’t think it will make much difference for me with this, I have some so added that to the mix. Used a highly scientific measurement of a good trowel full per 5kg of fertiliser.
Used this at a rate of about 50g per M2 (AKA a small handful per square yard). I’ll leave it for a week or so to absorb and then broadcast some grass seed over the area.
I did think about using some sulphate of iron to kill off the moss before scarifying but didn’t get around to it. No matter, the scarification and fertilising should suppress the moss enough for the grass. It’s not a bowling green!


Leave a Comment Here on Greenhouse Preparations, Scarifying, Feeding Grass