
The builders have finally finished and life is getting back to normal for us. I’ve got to say we were lucky with our builder. There’s a lot of cowboys around and the only fault I can pick with ours is that they do too good a job! No corners are cut and no hidden problems. At the same time, his bill was reasonable despite being top quality work.
If you happen to be in North Wales and need a builder, I can’t speak too highly of Dafydd Lloyd Builders.
One ‘extra’ on the job was a bed for the new shed which is being delivered on Tuesday, all being well. We had more rubble than expected after the work and one of the builders asked me what I wanted to do with it. I said I planned to use it to make a base for the shed. As there was a digger and dumper truck on site for a week, he suggested they do it for me.
So the mother of all shed bases was constructed. Obviously you want a shed base to be level, if it’s on a slope then it’s going to be pretty odd inside. I hadn’t realised quite what a slope we have though. It would probably have taken me a month by hand to shift everything.
Once levelled, there was still some rubble over, but that’s going to be hidden behind / inside a stone wall so it won’t look unsightly. One thing we’re not short of here is stones. I’m sure some of these walls were built just to use up the rocks.
Once the base was compacted, they had this vibrating pad machine, the next thing was to place slabs on a concrete base raised up with a gap between them. I’ve seen a lot of people go wrong with sheds. They place them directly down on a nice flat base and all seems well but the wood rots.
To prevent this, you need airflow under the shed so raising it off the ground is vital. You can use wooden bearers, fence posts are ideal, or stud bricks around and support on them. We’ve used raised slabs to achieve the same thing.
In an ideal world, I’d have built the shed myself but when I priced the wood it actually worked out more expensive than buying it in. There were ways to cut the price, using plywood for the walls being one way and particle board for the roof another. However, this is it, my dream shed. I really don’t want to do it on the cheap.
I found a local firm specialising in sheds and garden buildings and checked them out. Good quality treated wood, tongue and groove. All planed pine and treated to be rot resistant. Extra headroom, so no more banging my head going in the door!
Because our site is very windy at times, have you ever seen a sheep flying past? They’re adding metal bracing internally and using extra thick roofing felt. Hopefully I’ll get enough stuff in there to stop it from flying away.
Once it is up, I’ll lay some smaller slabs around the side to give myself a hard working area and somewhere for a cold frame, which I can fix to the shed against the wind.
I took a couple of photos of the shed base so you can see what I mean about raised slabs for airflow.
-
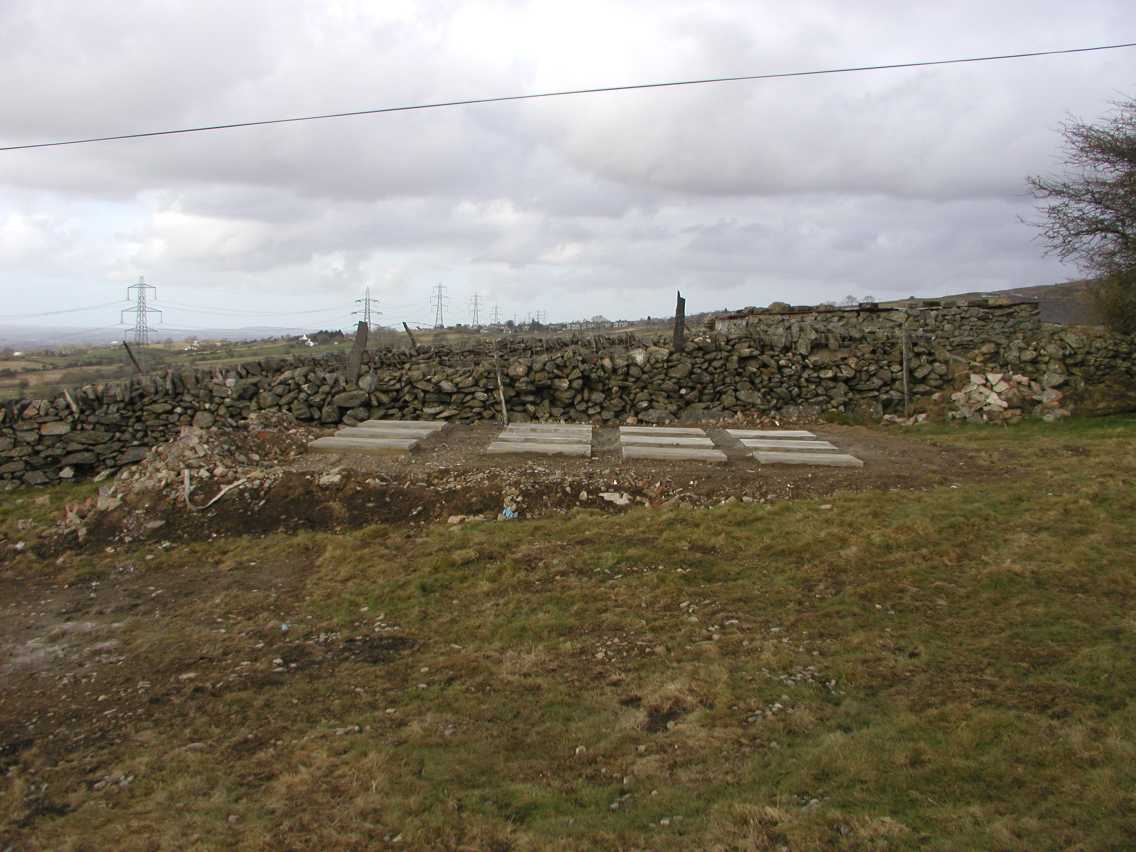
- Shed Base from Side
-
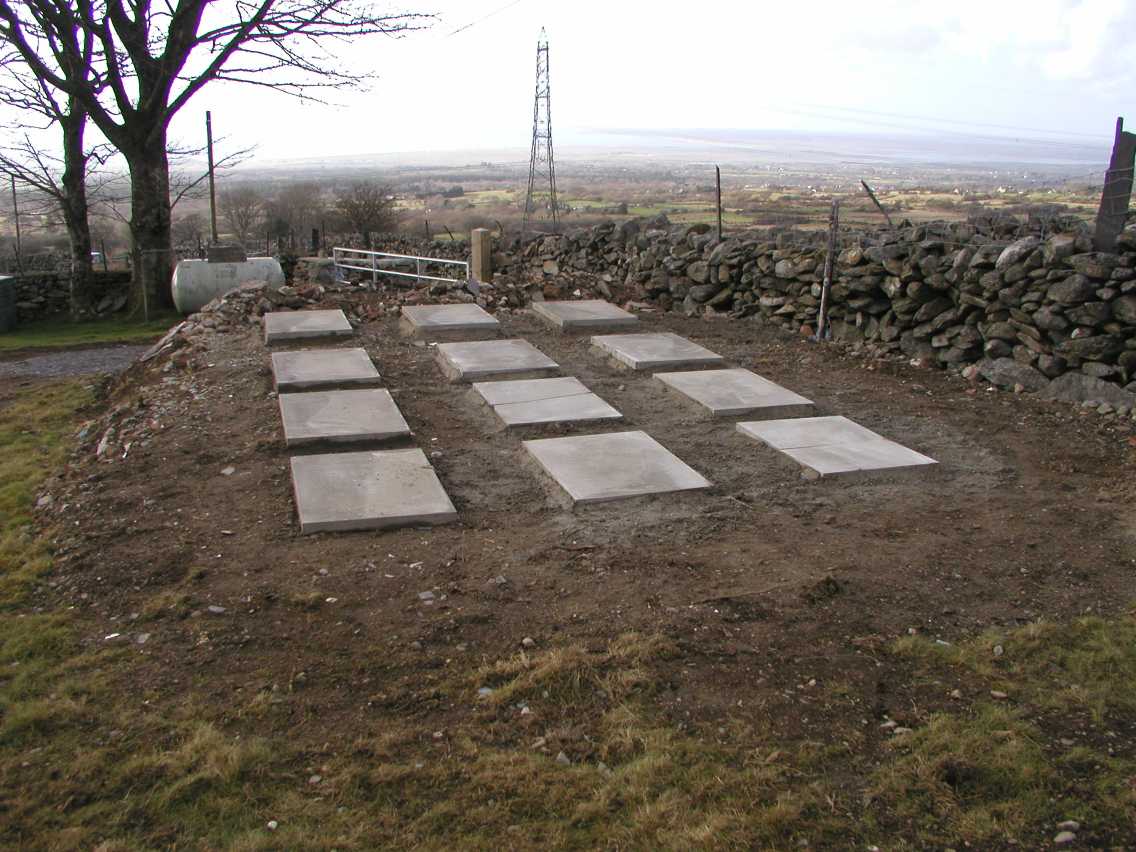
- Shed Base Slabs


When looking for wood for garden use I have found it worthwhile browsing the ‘decking’ section of suppliers’ yards.
If you are lucky you may find that they are selling off decking and joists that have been out in the weather, have ‘fork-lift’ scarring, or are marked by rust or spillages. Nobody wants their posh new decking to be less than perfect so sub-standard materials are pushed to one side for the lucky gardener to snap up in the next clearing-out sale.
Decking makes excellent sides for raised beds, and joists are perfect for shed bases.